An Apollo 3500 Vanguard Heavy-Duty Actuator Troubleshooting Guide
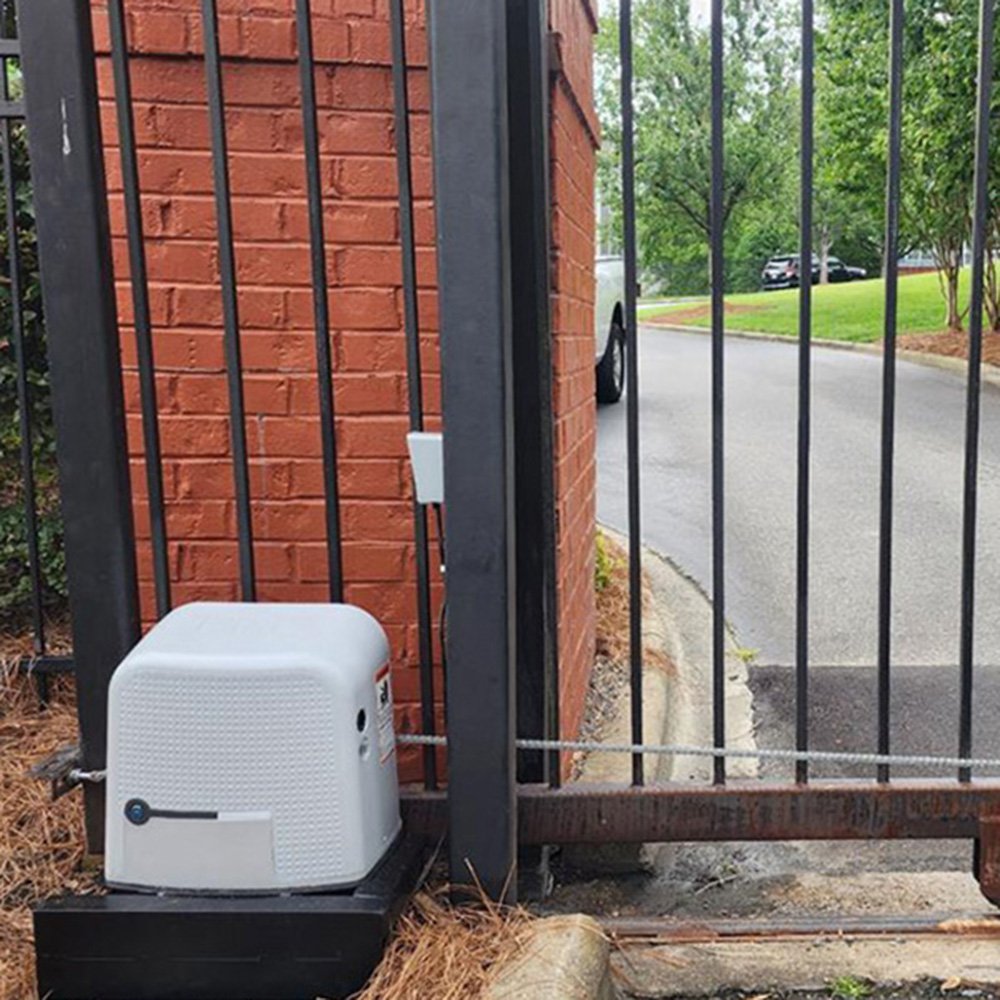
The Nice Apollo 3500 ETL-1K Vanguard Heavy-Duty Commercial Swing Gate Operator is engineered for gates up to 20 feet and 1,000 lbs. While these robust operators are built for reliable, continuous-duty performance, mechanical and actuator issues can occasionally arise. This guide addresses common mechanical troubleshooting questions for the Apollo 3500 Vanguard actuator system.
How to Adjust the Close Tension on the Gate
The close tension on your Apollo 3500 Vanguard is controlled by the close limit switch on the actuator. Proper adjustment ensures your gate closes completely without excessive force.
Step-by-Step Adjustment:
- Locate the close limit collar on the actuator drive shaft near the motor chassis
- Loosen the set screw on the close limit collar using a 5/32" hex key
- Run the gate to the fully closed position using your transmitter or control button
- Slide the collar to the position where the limit switch activates just before the gate reaches its fully closed position
- Tighten the set screw firmly to secure the collar
- Test the operation by cycling the gate several times
Gate Won't Close Completely - Arms Won't Lock Over Center
When the gate won't close completely and the arms fail to lock over center, this is typically a mechanical alignment or limit switch issue that requires systematic troubleshooting.
Possible Causes & Solutions
| Issue | Solution |
|---|---|
| Close Limit Switch Not Set Correctly | Re-adjust the Close Limit collar (The Gate May be Stopping Before Reaching the Fully Closed Position) |
| Arm Assembly Not Properly Assembled | Verify the Secondary Arm is Attached Correctly to the Primary Arm Using Hex bolts with brass washers |
| Gate is Mechanically Binding | Disconnect the Actuator from the Gate and Verify the Gate Itself Moves Freely Without Obstruction |
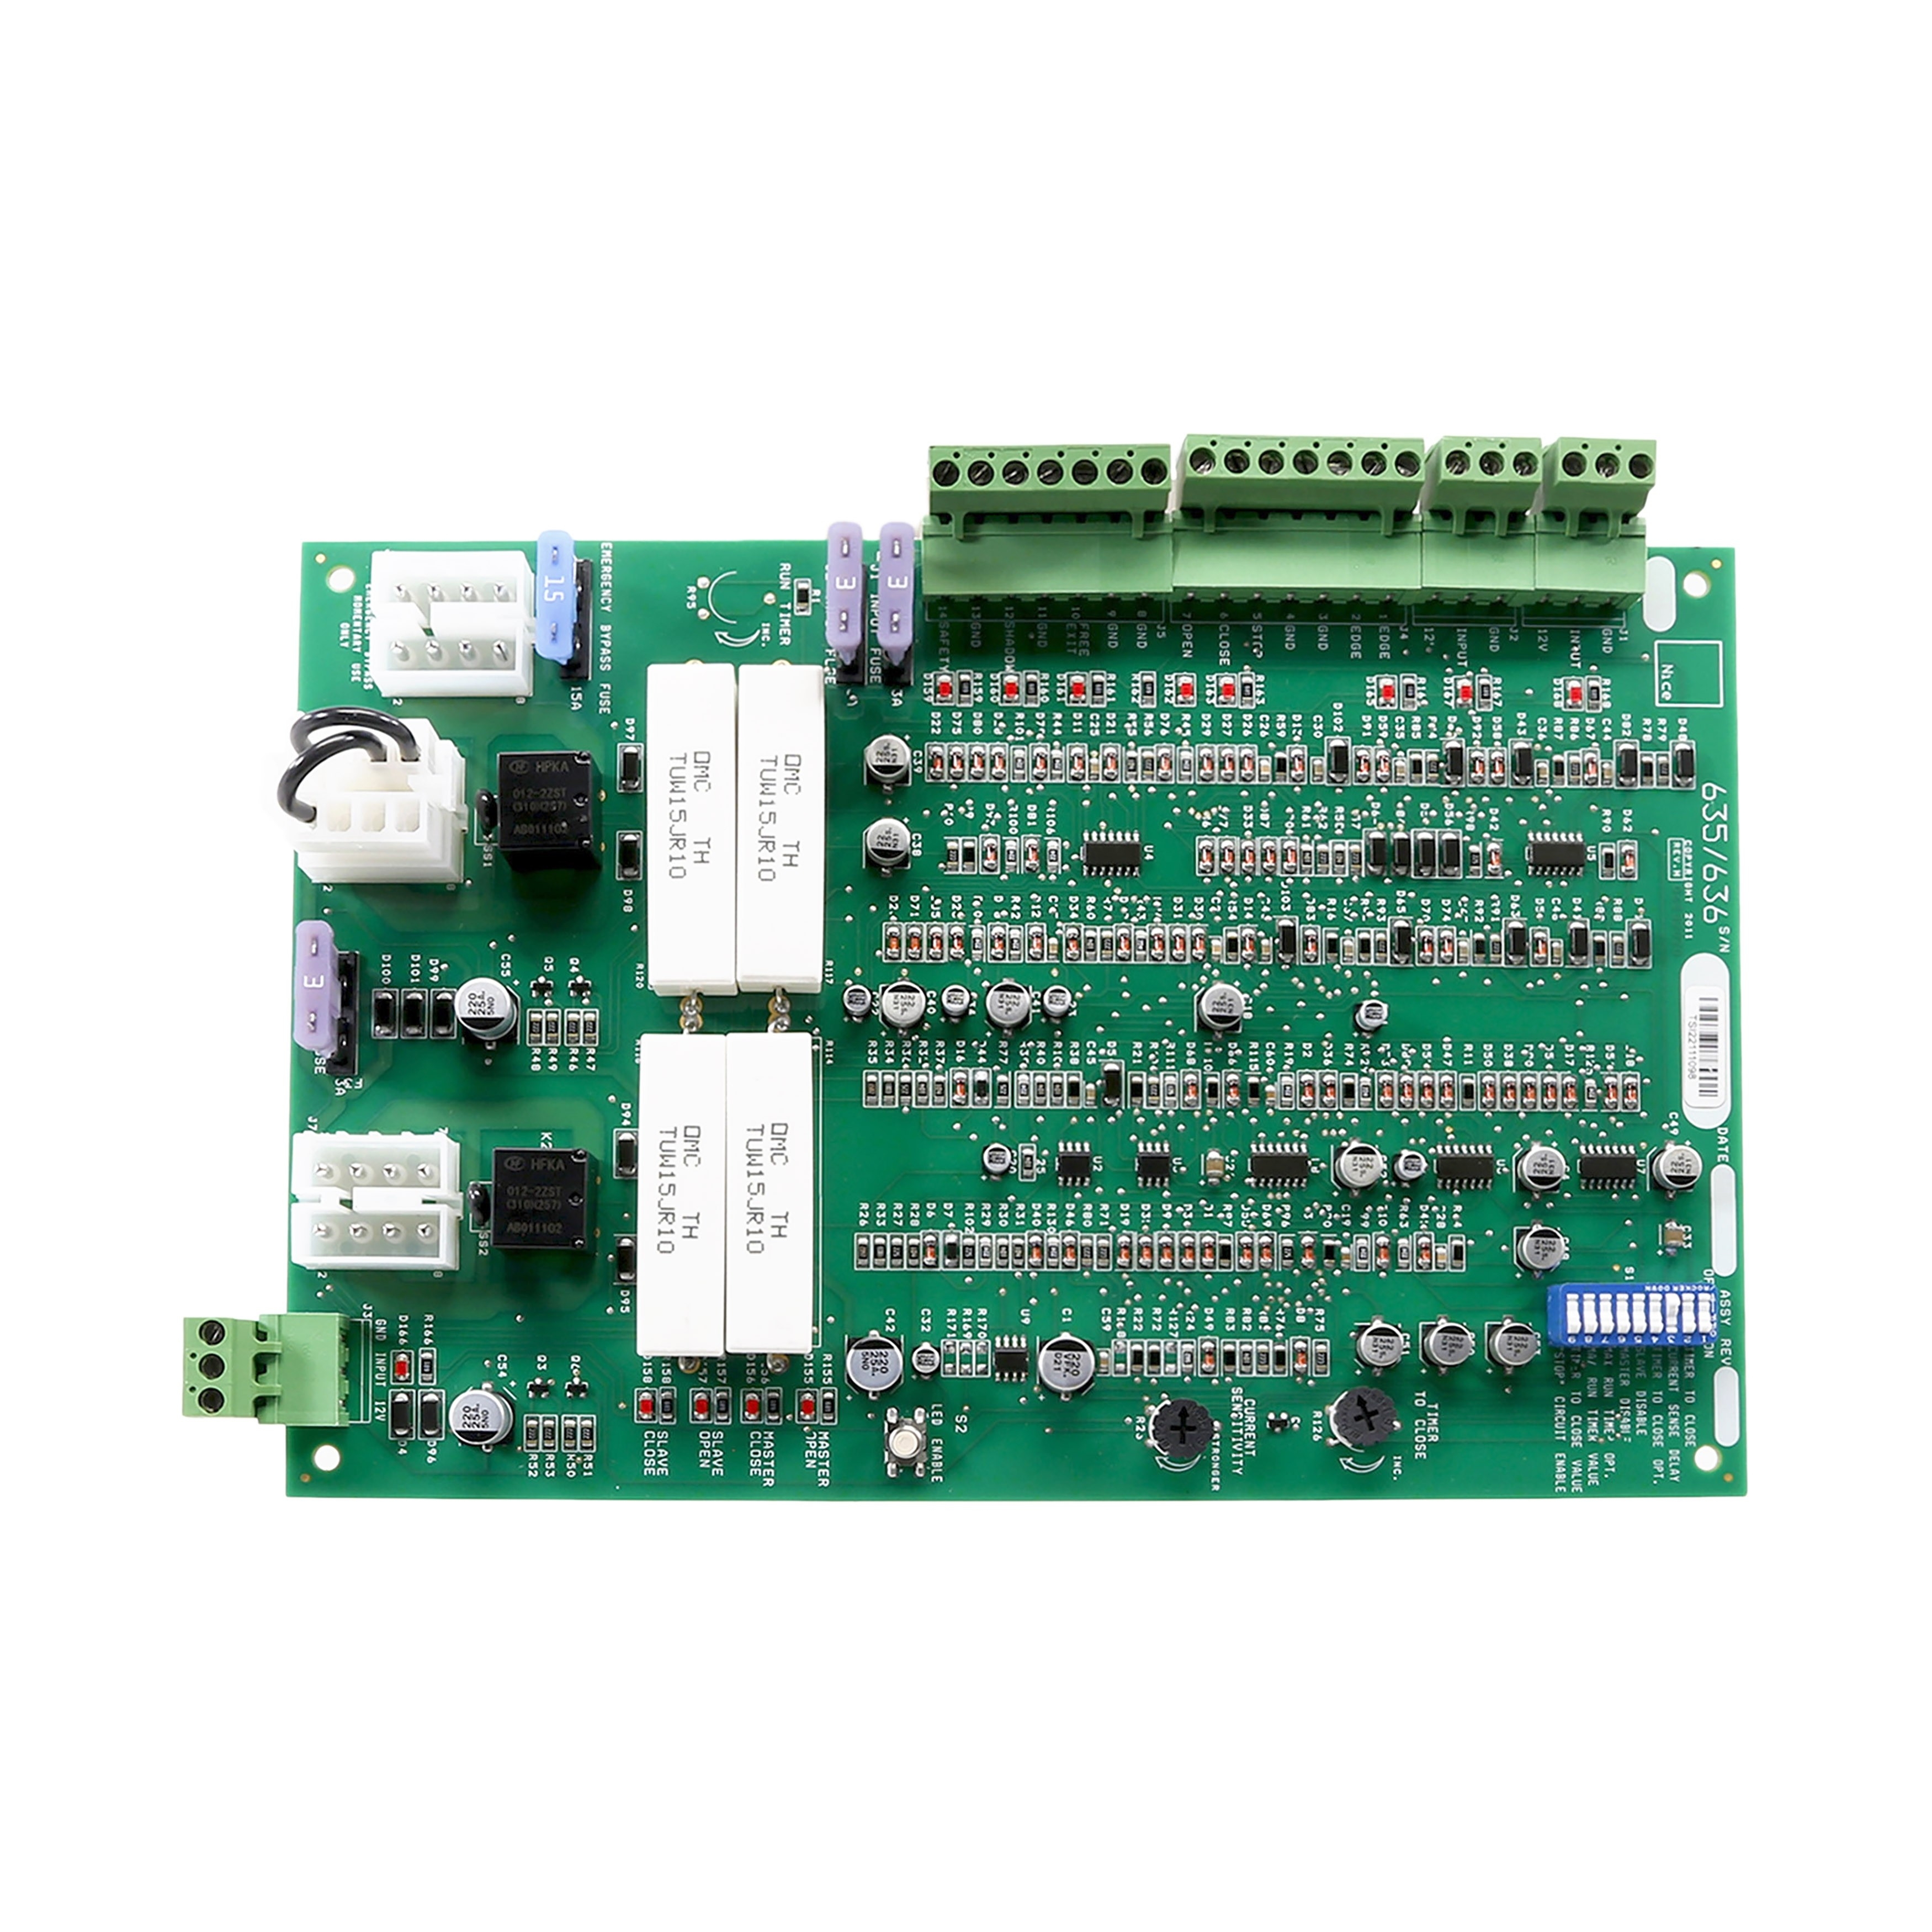
| Current Sensitivity Set Too Low | Re-adjust the current sensitivity on the control board, the Gate May be Stalling Before Reaching the Closed Position |
| Actuator Extension Tube Bent | Inspect the Actuator Arm for Damage; Replace if the Extension Tube is Bent |
Primary Arm Collar is Loose on the Drive Shaft
A loose primary arm collar can cause irregular gate operation and prevent proper locking, which compromises the entire system's performance. Addressing this issue requires proper installation following the manufacturer's specifications.
Installation
- Install the 1/4" key stock into the keyway on the drive shaft
- Slide the collar onto the shaft as far up as possible
- Tighten the set screw using a 5/32" hex key
- Insert the 1/2"-13x3" hex bolt into the collar and secure with a 1/2" hex nut
- Install the retaining ring into the groove on the driveshaft using retaining ring pliers
If the Collar is Already Installed and Loose
- Check the key stock. If the key is missing or worn, it should be replaced
- Inspect the set screw. Ensure it is properly threaded and tightened
- Examine the retaining ring groove. If damaged, the drive shaft may need replacement
Primary Arm is Not Locking into the Stop Tab
The primary arm must properly lock into the stop tab on the secondary arm for the gate to achieve a secure closed position. When this connection fails, the gate cannot lock properly in the closed position. Begin by verifying the arm orientation because the two ears on the primary arm should point toward the direction of the gate. Check the stop tab position because the stop tab on the secondary arm should be positioned away from the gate. Inspect for wear or damage because the stop tab and primary arm connection points should be free from excessive wear. Check the bolt tightness to ensure the hex bolt connecting the primary and secondary arms is properly secured with brass and steel washers. The arm assembly connects in a specific sequence starting with the primary arm collar, then the primary arm, followed by the secondary arm, and finally the adjustable aluminum arm insert. All connections use 1/2"-13 hardware with brass washers for smooth articulation and steel washers for durability.
Release Switch Won't Engage or Disengage Properly
The toggle switch, also known as the release switch, allows manual operation of the gate during power outages or maintenance. When this switch fails to function properly, you lose the ability to manually operate the gate. To troubleshoot the release switch, first check for obstructions by ensuring nothing is blocking access to the switch. Verify the electrical connection because the switch should be properly wired to the control board. Inspect for wear because repeated use can wear out the toggle mechanism over time. Test the switch by using a multimeter to verify proper continuity when toggled. To manually operate the gate, locate the manual release handle on the side of the control box. Insert and turn the handle clockwise until the turret assembly is loose and moves freely. The main drive assembly is now disengaged and the gate can be moved manually.
Actuator is Noisy or Vibrates Excessively During Operation
Excessive noise and vibration during operation can indicate several mechanical issues that should be addressed promptly to prevent further damage and ensure reliable operation. Surging or jerking motion during operation typically indicates that pivot arm bolts are loose. The solution is to snug all bolts, but be aware that the pivot arm bolt should be snug but not tight. Excessive vibration often means the pivot arm is not rigid enough, which may require re-welding and bracing the pivot arm. Grinding or scraping sounds usually indicate the gate itself is too limber, which requires reinforcing the gate structure. Rattling sounds typically come from loose hardware, so inspect and tighten all mounting bolts and hardware. Whining or humming sounds may indicate motor or gear issues that require professional service or motor replacement. Perform regular maintenance by inspecting all mounting bolts and tightening as needed, checking that the mounting post is level and secure, verifying the chassis mounting bracket is properly welded or bolted, ensuring the gate bracket is securely attached to the gate structural support, and lubricating pivot points if accessible while avoiding getting lubricant on the brake mechanism.
Shop Related Products and Replacement Parts
Related Articles
If you have any further questions, please reach out to our representatives. They are happy to help in any way they can!
Contact Us