How Do You Connect A Photo Eye To The Gate Operator?
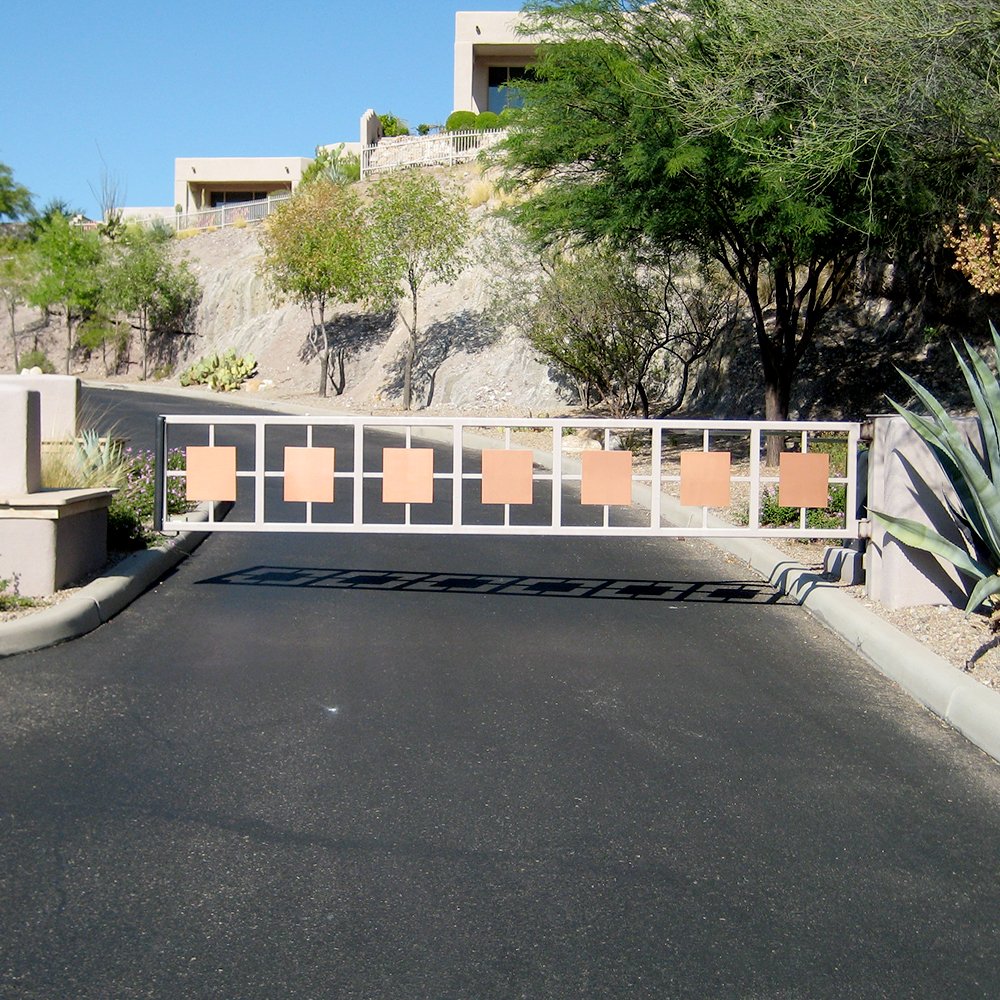
Setting up a set of photo eyes to a gate operator is easier than most people think. Following the UL 325 Safety Standards, two sets of photo eyes should be installed. Photo eyes are a vital safety mechanism that ensures anyone caught near the gate will not be injured. Every year, multiple people die because of a lack of preventative safety devices. Setting up photo eyes usually only takes a few minutes. Review the diagrams below to check out where they need to be installed depending on the gate type. Retroreflective photo eyes work for both swing and sliding gates.
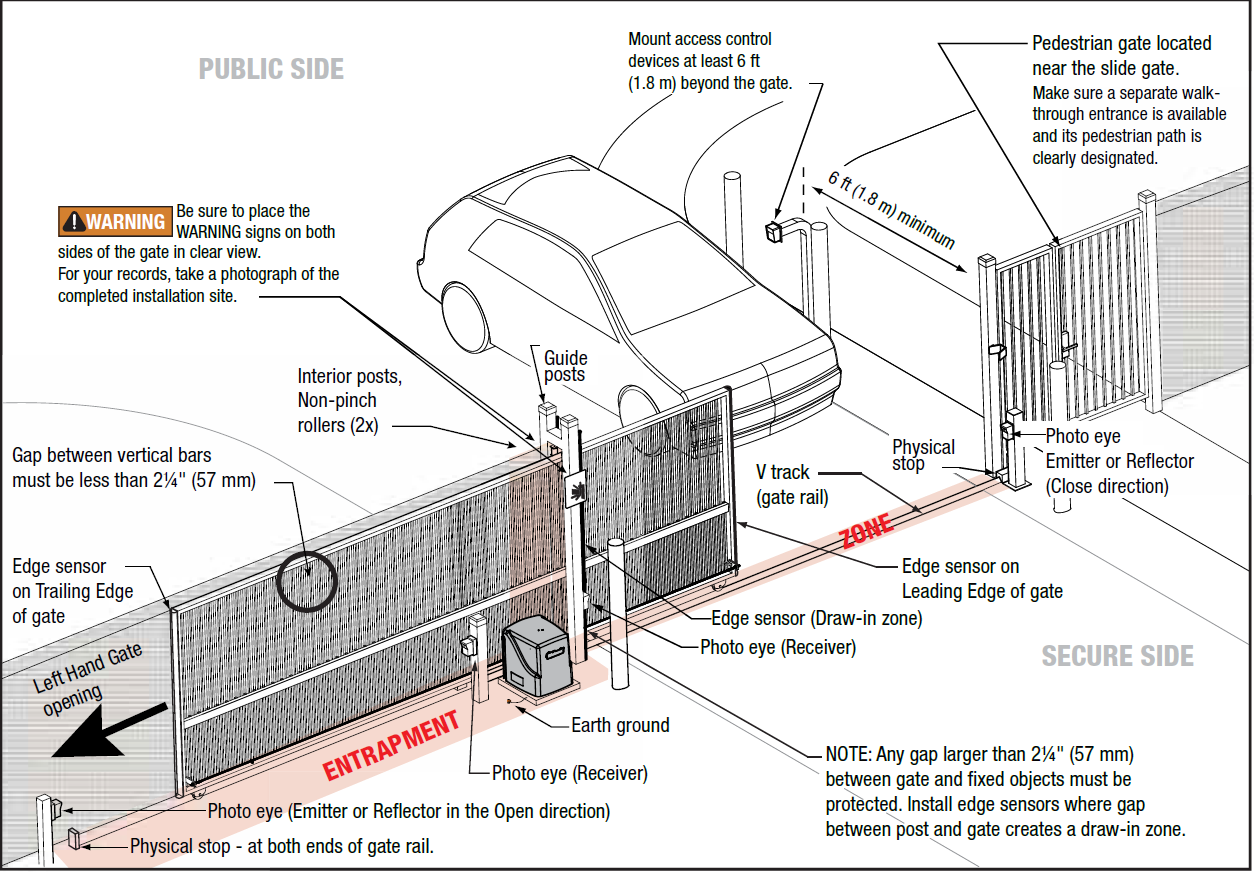
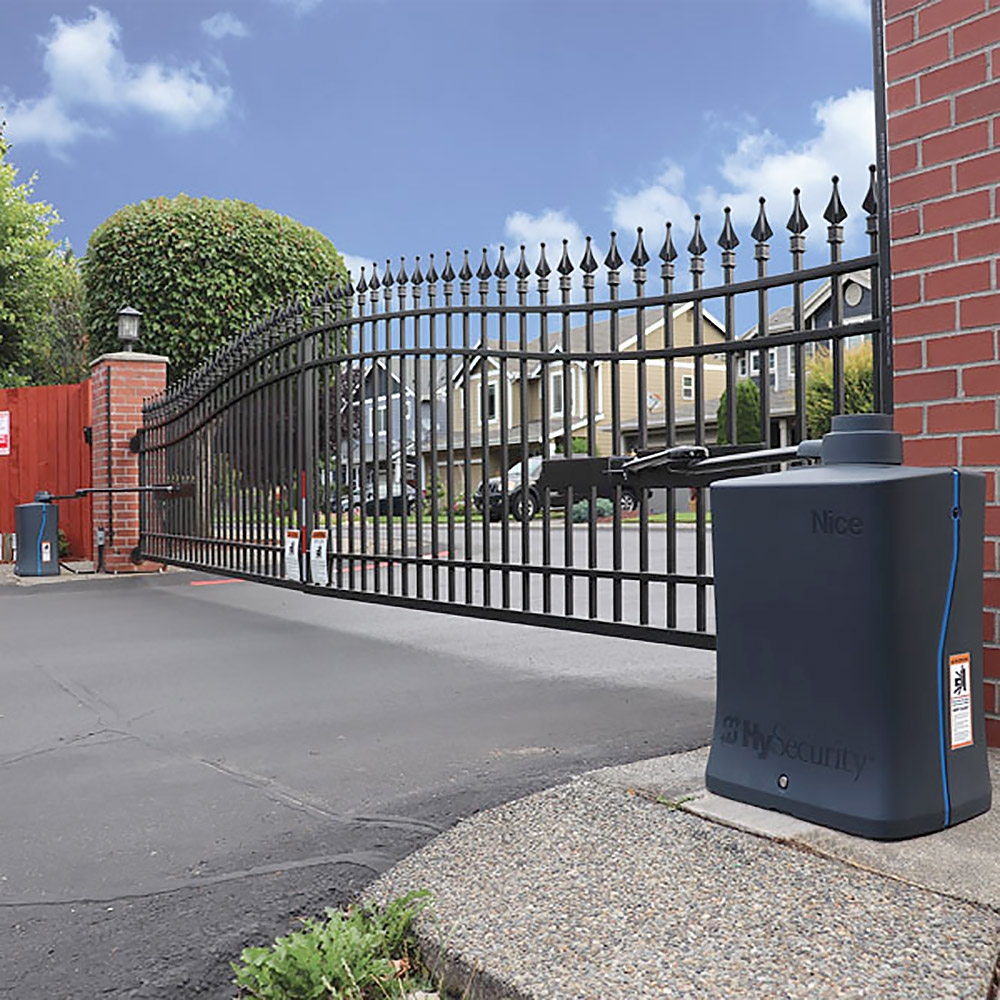
Sliding Gate
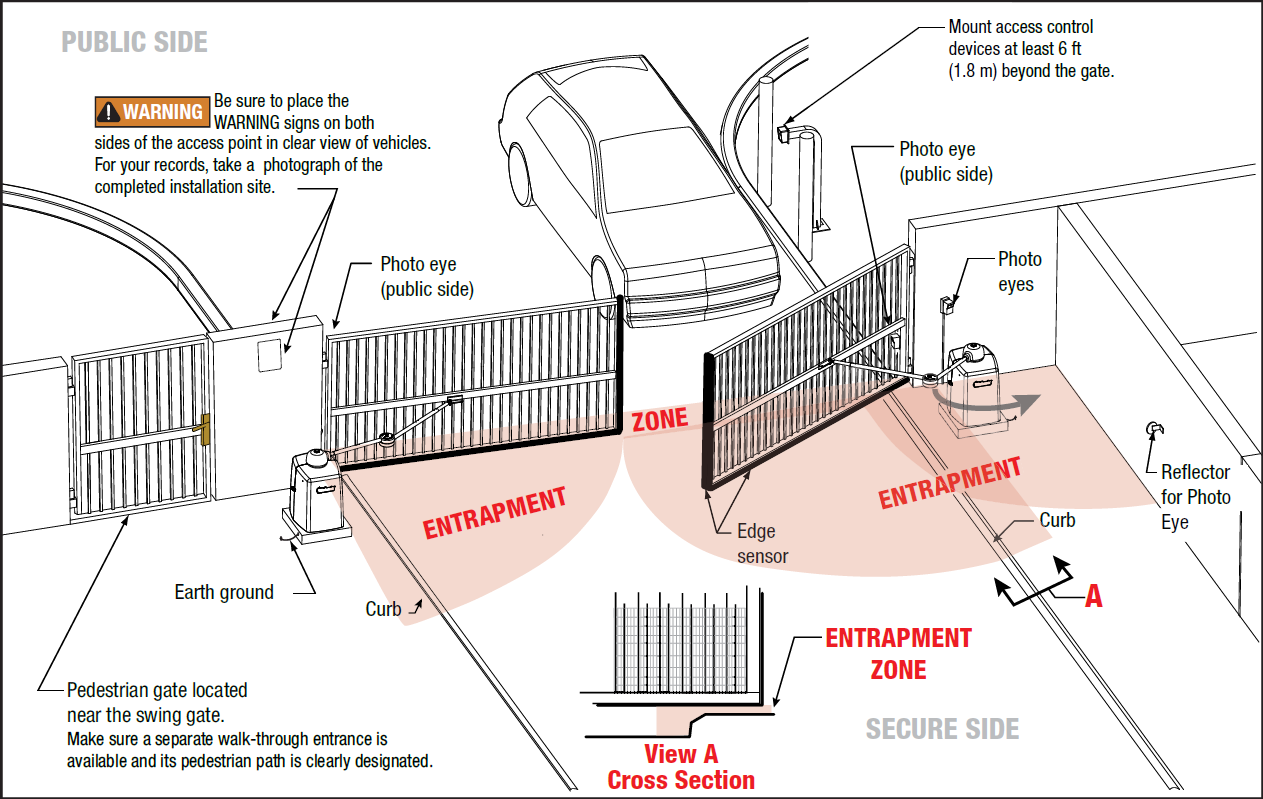
Swinging Gate
The Nice Apollo Photo Eyes are the easiest to install. These photo eyes for gates can be installed with as little as two wires. One method is to wire the transmitter and receiver to each other. Once they are connected, choose the one closest to the operating board and wire it to the board. This is the most straightforward way of installing photo eyes. The other way to install these types of eyes is by wiring both to the operating board. Both methods work, and you can choose which is more convenient for your situation. These types of photo eyes work on BlueBUS technology. They are IP55 protection rated and can work up to a range of 49 feet.
Other retroreflective photo eyes like the Nice Apollo 224V-RC Retro-Reflective Photo Eye uses just one transmitter. There is a reflector on the other side bouncing back the signal. These types only require one wire and can have a range of up to 50 feet. These are a great choice for low-current draw setups that utilize solar power. This model includes mounting hardware that is completely watertight.
Check out our videos on how to wire each type of photo-eye in more detail. If you have any questions or would like to place an order, do not hesitate to contact one of our knowledgeable sales representatives. We are here to help!