Automatic Sliding Gate Opener DIY
While it is recommended that you install an automatic gate with a professional installer, if you are trying to DIY your sliding gate opener and do everything alone, there are some tips you should keep in mind. These include testing the opener, adjusting control box settings, and installing the mounting brackets. But before any of this, you'll need to ensure you have the right tools to start installing your automatic sliding gate.
Options For Your Sliding Gate Opener
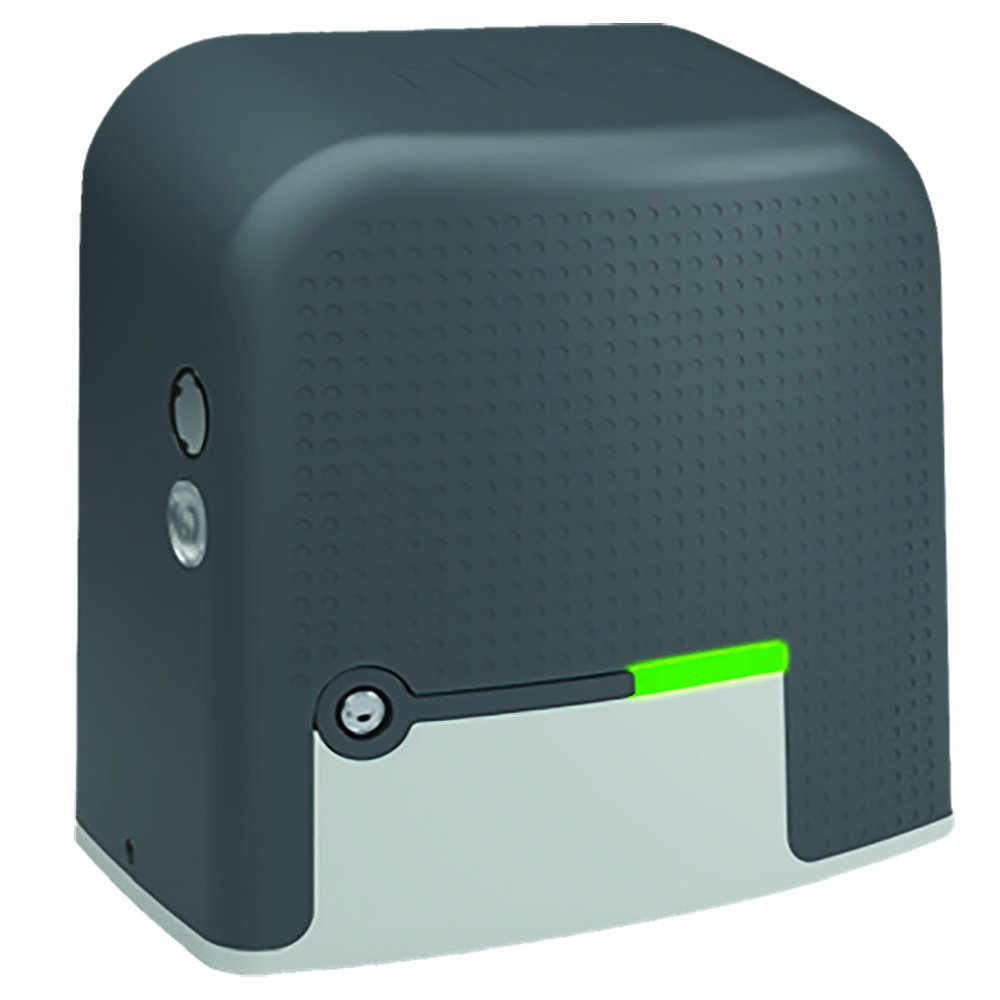
First, before even considering installing an automatic sliding gate, you should ensure it has all the features you want. Are you looking for one that is solar-compatible or includes safety devices such as photo eyes? Narrow what you are searching for in a gate opener and what add-ons you need. Thankfully, many Nice Apollo gate openers come in kits, so you can get everything you need with one purchase.
Tools To Install Your Gate Opener
The tools you will need to install your gate opener include:
- A spirit level gauge
- Pencil
- Power drill
- Clamps
Usually, most gate openers will come with the screws and bolts required for installation.
Get Your Gate Ready For Installation
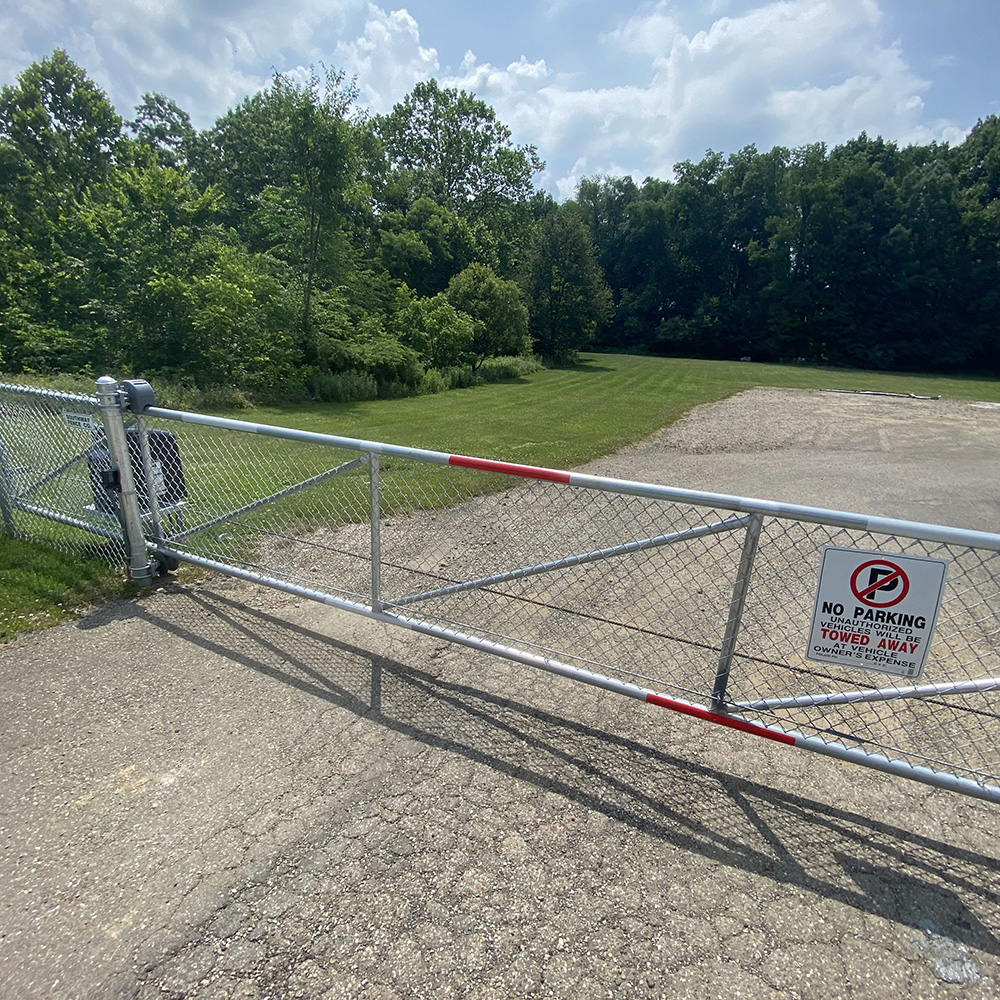
The first step for installing a sliding automatic gate is ensuring your gate is level and not blocking traffic. After this, unbox your gate opener and ensure you have everything you need to install your sliding gate opener. There should be a manual available with all included parts listed.
Take Time To Test Your Gate Opener
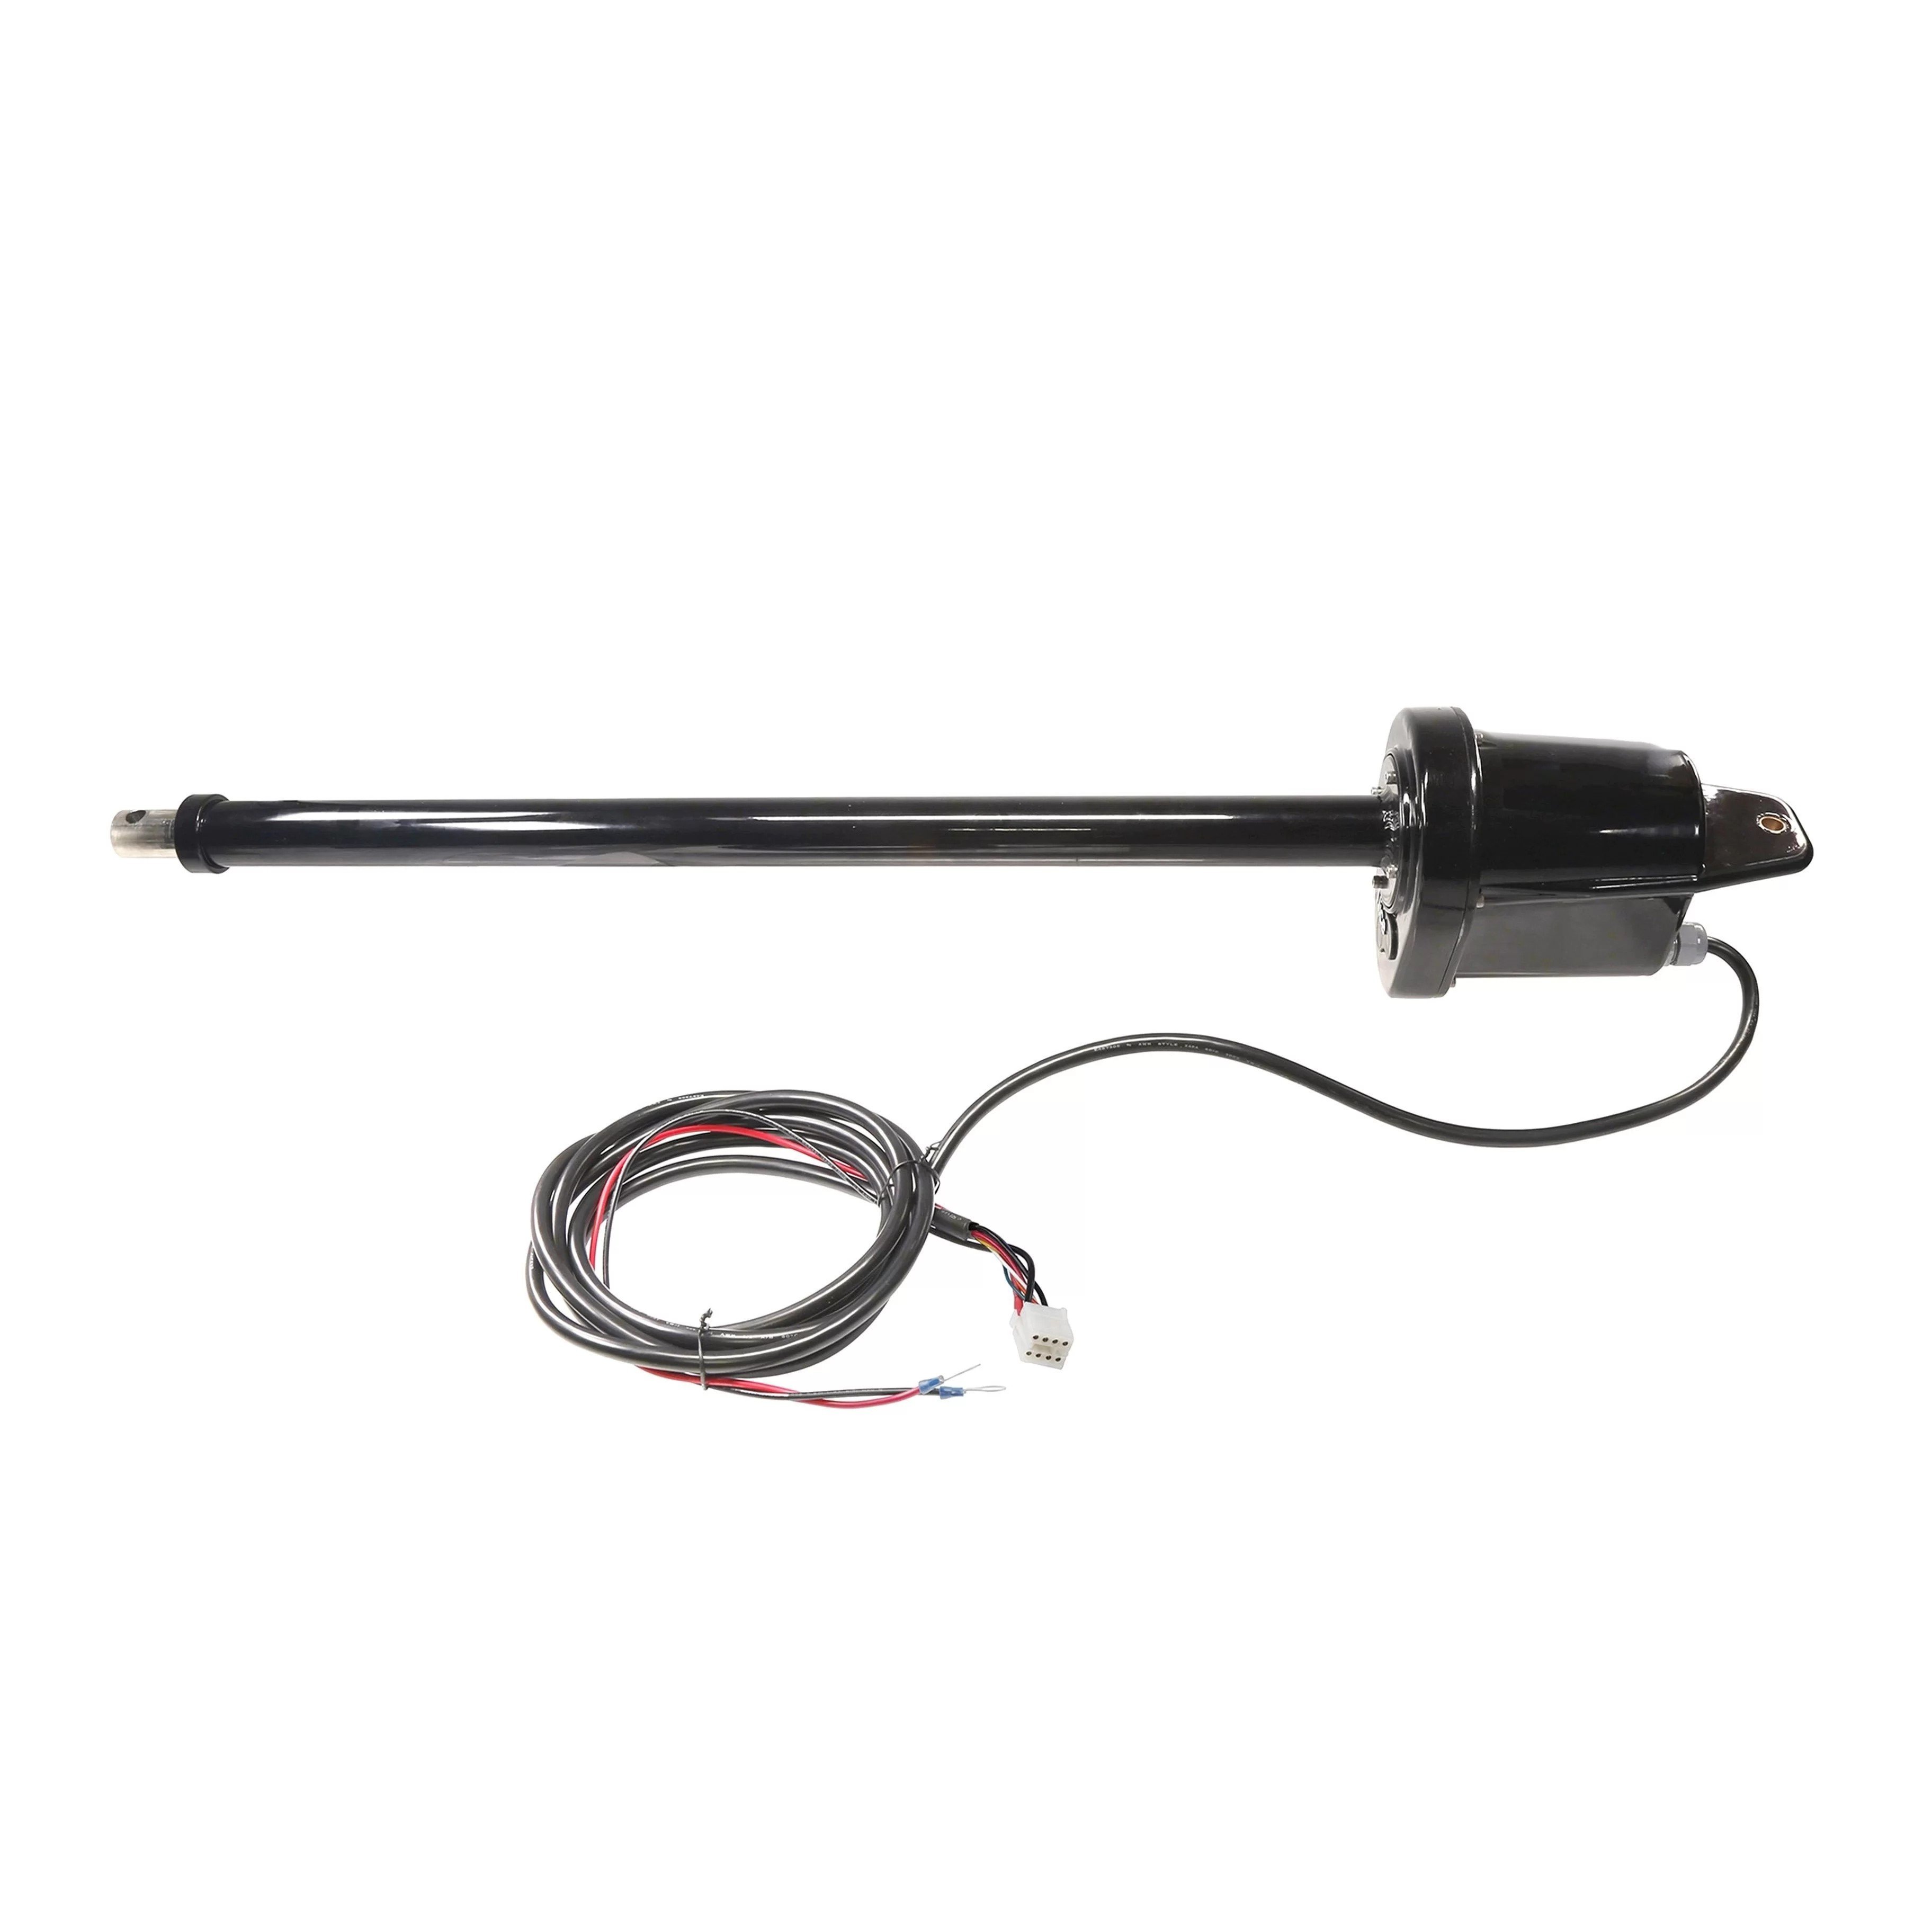
After this, test your gate opener. If your gate opener has an actuator arm, plug the arm into the controller box and then connect the controller box to your chosen power source. That way, you can see if your gate opener is unresponsive.
Install All Necessary Parts (Mounting Brackets, Gate Opener Arm, Controller Box)
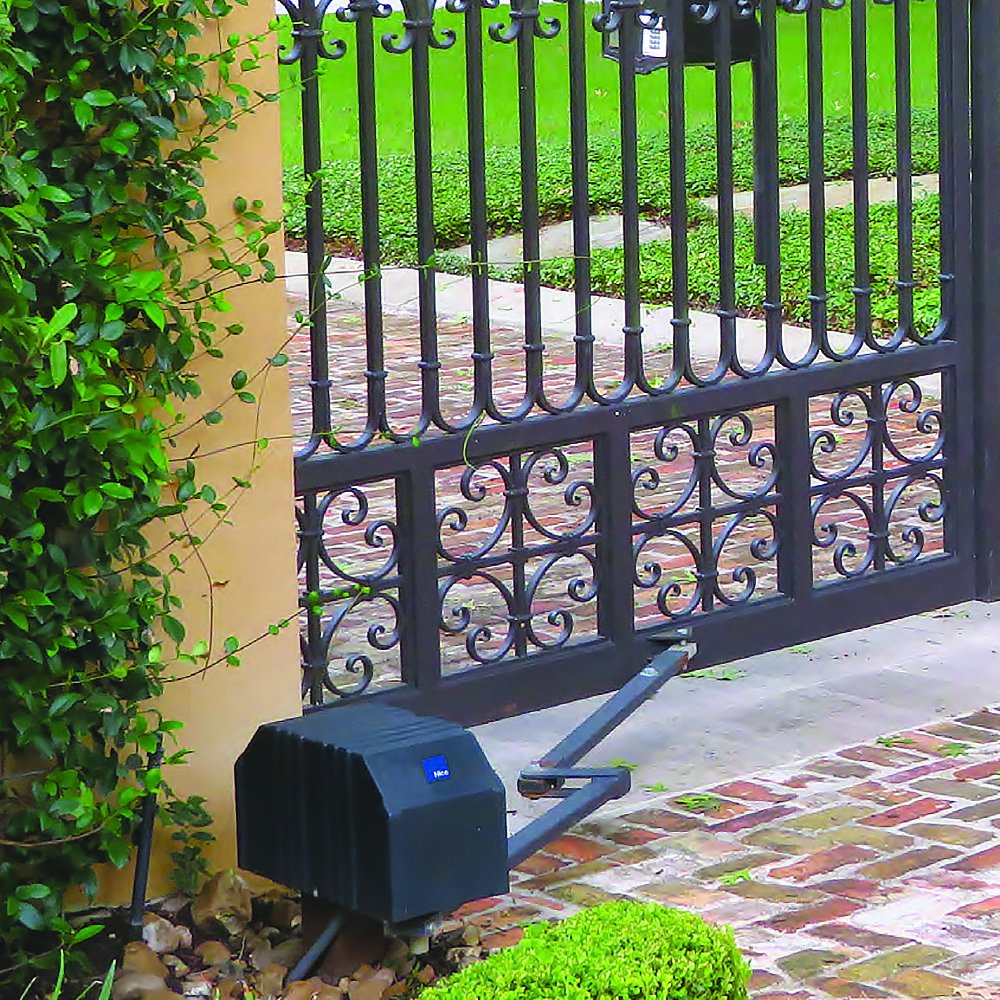
After this is completed, you'll mount your brackets. Most of the time, these brackets will be installed on a metal post. If you have chosen a wooden post, pre-drill your holes before installation. Make sure these mounting brackets go exactly where you would want your gate. You can mark this with a pencil if you choose.
Once you have finished installing the brackets, it is time to install the gate opener arm and control box. The actuator arm usually connects to the mounting brackets. Ensure all bolts, brackets, or clamps are securely fastened to the gate and posts. Once this is completed, you'll attach the controller box to your chosen gate post. Some controller boxes connect directly to the metal gate post, while others have brackets.
Fixing Your Power Supply and Adjusting Controller Box Settings
It is time to connect the control panel to the controller box. Most of the time, this is already set up. You need to connect additional devices with the wiring in your gate manual. However, never cross any red and white wires. If you have a battery box, this will also need to be attached to the control panel. Once you have everything to your liking, you can power on your gate opener.
Most gate openers will require you to set up your gate's open and close limits. It is time to set them up now. Just look in your gate manual for instructions on how to do this.
One Again, Test Your Gate Opener
Ensure your gate opener closes and opens correctly. If it needs to be fixed, consult the manual to see if you have missed a step.
DIY Installation Of Sliding Gate Opener
While installing an automatic gate opener is not too difficult and usually only requires using the manual, it can sometimes void your warranty doing it this way. While gate installation can cost as much as $3,000, it may be worth it if your insurance is not void. Plus, you may need to contact a pro if you cannot troubleshoot problems with your gate.